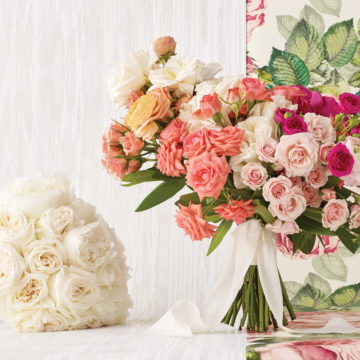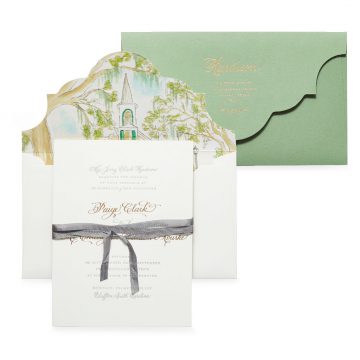


The world of invitation suites includes a myriad of styles, colors, and textures. Chelsea Carpenter of Southern Fried Paper breaks down the various types of treatments available for stationery.
Digital (also called “flat printing”)
Done with toner or ink, all colors are printed at once. It is the quickest and least expensive option. This process is great for printing in full color (think photos or watercolor painting), but you are limited in paper thickness and it doesn’t add a raised or pressed effect.
Offset (can be called “lithography” or “flat printing”)
Similar to digital, the ink isn’t pressed or raised—but it does require a plate to be made. One color is printed at a time to improve quality. This process is more expensive than digital but still significantly less expensive than any pressed or raised techniques. Best for one- or two-color invitations.
Thermography
Similar to offset, this process applies a transparent powder dusted on the wet ink that is then heated to make it raised. Choose from shiny or matte finish. This process is great to get the raised effect of engraving for a lower price point—but without the indentation on the back side.
Letterpress
One of the most popular options, the depth and texture are achieved when a photopolymer plate is rolled with ink and then pressed into the paper one color at a time. All-cotton paper gives the deepest impression. Because of the labor-intensive setup and hand-applied artistry, this process is more expensive than digital or offset printing.
Foil Stamping (also called “hot stamping”)
This process is done with a copper or magnesium plate that is heated up and pressed into the paper with a thin, metallic foil. Price is similar to letterpress.
Screen Printing (also called “silk screen”)
This process is often used on acrylic and other thick or dense materials. After the screen is made, ink is squeezed through to create the design one color at a time.
Engraving
An etched copper plate is filled with ink to print one color at a time. A counter helps push the ink onto the paper and results in raised printing with indentation or “bruising” on the back side. It’s one of the most traditional and formal printing processes but also one of the most expensive because of the need for highly skilled printers.
Embossing
A sculpted brass die and counter are made to press the paper into a raised, 3D shape. It can be done after ink or foil are printed or printed alone to create a more subtle “blind” emboss.
Laser Cutting
A laser beam cuts out a shape in the paper. The shapes can be highly intricate because of the “laser precision,” but some paper shows charring on the edges from the laser burning. This process can also be used on acrylic and other dense materials. Pricing is based on how long it takes the laser to cut out a single piece (as they are done one at a time), so more intricate shapes will be more expensive.
Die Cutting
Less intricate than laser and therefore less expensive, paper is cut into an outer shape. Similar to a cookie cutter, a sharp, metal shape is pressed into the paper. Paper won’t burn when it’s cut so it leaves the edges pristine, but you are limited to how intricately a piece of metal can be bent into the shape of the die.
Rhonda Camp Warren of Color Box Design & Letterpress shares what goes into your suite.
Required:
- Invitation
- Reply card
- Envelope
- Carrier envelope
- Reception card
Optional:
- Information or accommodations card
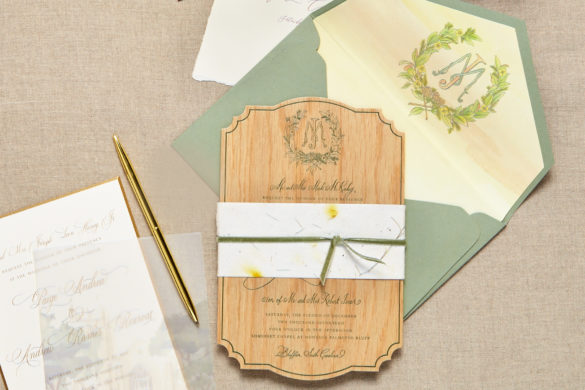
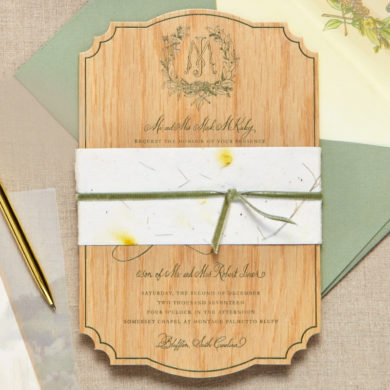
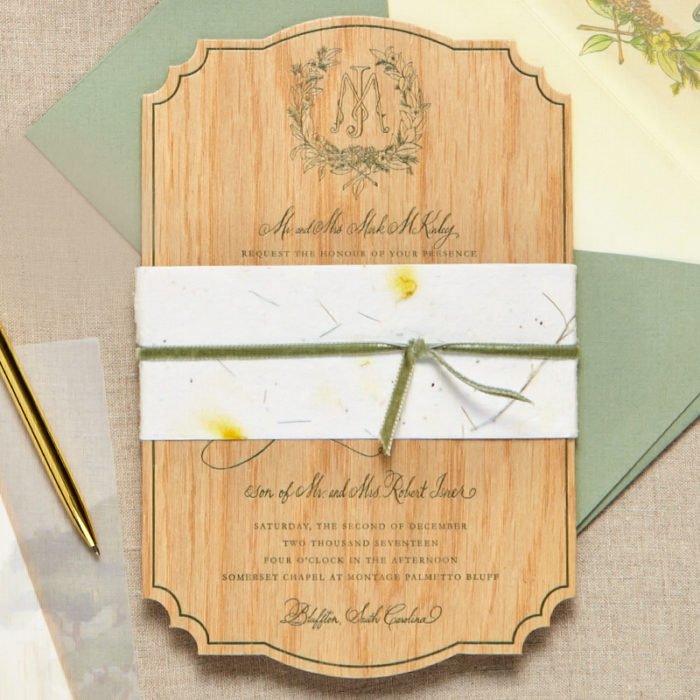
- Belly bands
- Wax seals
- Folio
- Envelope liners
- Embellishments such as feathers or skeleton leaves
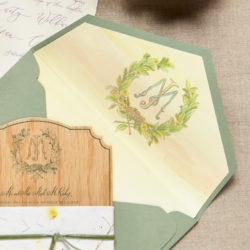
Melissa Wayte of Paper Affair gives us the lingo you need.
Deckle Edge
Untrimmed, rough edge of handmade paper. Deckle-edge invitation suites have been growing in popularity because of their organic, romantic look. (Check with your stationer to ensure that this style is compatible with the printing method of your choice.)
Liners
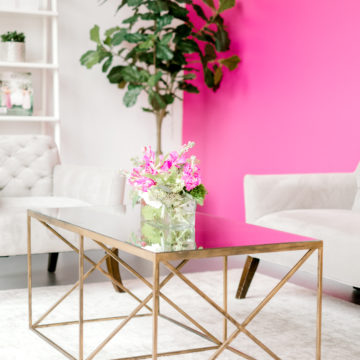
Paper that is cut down to fit inside the envelope. Liners upgrade the overall look of the invitation and are a great opportunity to add another design element—pull inspiration from your colors, stage backdrop, table linens, or monogram.
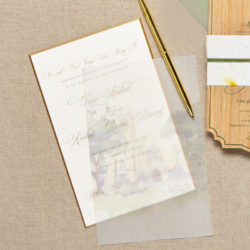
Vellum
Light yet durable translucent paper. It creates a layered look and is a unique way to add another element to your invitations. It is commonly used as an overlay or jacket wrapped around the invitation. It can be printed on or works great on its own to emphasize a background. To attach the vellum, wax seals or brass brads complete the look. Consider using them for day-of items such as menus, programs, or favors.
Lucite
Acrylic resin or plastic. Acrylic wedding invitations have grown greatly in popularity. Instead of paper, clear or colored acrylic cards are used. The acrylic material can be die cut into different shapes, and it is usually digitally printed or engraved. This creates a unique look that is sure to impress your guests. Watch for additional postage costs due to weight or size.
Smooth Finish
A clean feel with a glossy or matte finish. If your design has photo elements, it is best printed on this type of stock because it is ideal for vibrant colors and detailed images. It’s also cost efficient.
Linen Finish
Resembles a beautiful linen cross-weave texture. The luxurious stock will set the tone for a classic wedding full of refined details. Because of the texture, intricate designs can be difficult to print. Talk to your stationer to ensure clear printing.
Annie Roche of 5 by 7 Designs shares the three most popular sizes.
5×7
“This is traditionally the most popular.”
5 ½ x 8 ½
“We are seeing a move to this size for custom suites.”
6 x 6
“For a modern feel, this style creates an oversized square.”
Heather Wiese Alexander breaks down RSVPs.
Your RSVP cards should always be mailed to the host of the wedding—usually the bride’s parents or the mother of the bride, in the most traditional instances. If the couple is hosting and living separately, choose one address and name. If the couple is hosting and lives together, list the bride’s full name stacked on top of the groom’s full name. If the couple’s parents are jointly hosting, tradition suggests the bride’s mother, but contemporary couples may opt to receive them themselves.
“Remember to leave room on your reply card for your guests to write the hosts a message,” Wiese Alexander says. Also, you heard it here first: “You don’t have to use the ‘M___’,” she adds. It’s especially unnecessary for your guests who are doctors or members of the military and will have to cross it out anyway.
Megan Clegg of Cleggraphy Designs puts her flair on calligraphy.
Across the industry, you can expect to pay $2.75–3.50 apiece for calligraphy on outer envelopes. Color and ink are just two of the factors that determine cost. “The price is based off the style,” says Clegg. “Say one has lots of flourishing and is very detailed—that would be more.” Ask your calligrapher if she offers a “perfect suite”—a full set for your photographer to take photos of, addressed to you with your new name.